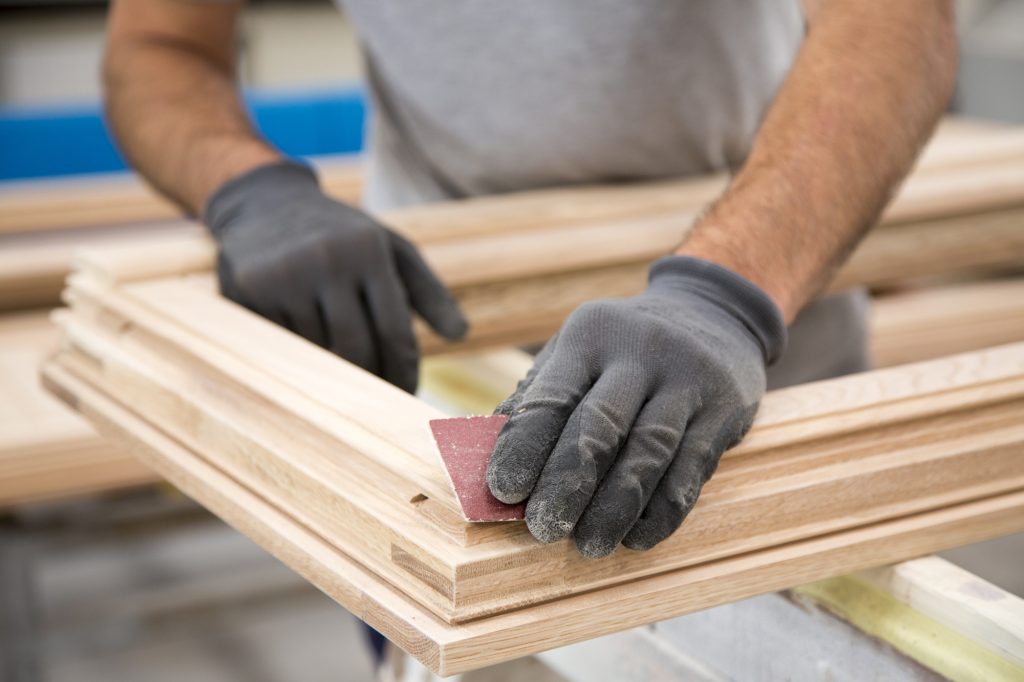
The Ultimate Guide to Sandblasting Wood: This is What You Need to Know
Photo from upgifsOriginally Posted On: https://upgifs.com/blog/15109/the-ultimate-guide-to-sandblasting-wood-this-is-what-you-need-to-know-1548/ We live in a synthetic world: plastic polymer shingles, vinyl fencing,...Wednesday, February 26th 2020, 4:25 pm
 Photo from upgifs
We live in a synthetic world: plastic polymer shingles, vinyl fencing, fiberglass doors, and plastic laminate countertops and cabinets. We demand fast, durable, and cost-effective materials and manufacturers listen.
Nobody’s blasting synthetics, but where’s the wood?
Relax, people still love natural wood. There’s an entire movement intent on restoring wood furniture and building materials. Sandblasting wood is one technique restoration experts use to bring wood back to its former beauty.
If you’re not familiar with sandblasted wood, check out our guide to using this popular technique before you start your next wood restoration project.
Why Sandblast Wood?
In the past, you rarely saw wood in the garbage. People used a piece of wood until it fell apart, and then they recycled it. Today, you can find original hardwood flooring and architectural elements in homes over 100 years old.
Old wood may look rough, but sandblast the layers of paint and old finish, and voila—you find true beauty — all without the damaging effects of heat or chemicals.
Artisans also use sandblasting to age or distress wood and create a vintage look.
Sandblasting Wood with the Big Toys
Before we take a brief look at tools needed for sandblasting, it’s worth noting the technique is an art form. You can learn it, but it takes time to refine the skill.
If you’re going to sandblast wood, you need a sandblaster. Sandblasters come in 3 types:
- Gravity-Fed
- Pressure
- Siphon
If you’re a DIY kind of person, the siphon sandblaster is likely the one for you.
All sandblasters use air pressure, sand or other abrasive, and a sandblasting gun. Whether you use a siphon sandblaster or go with the pressure blaster—used more in commercial applications— you treat the wood the same.
How to Sandblast Wood Furniture
First, choose your fuel. The most common fuel or media for sandblasting wood is silica sand. It’s widely available and more cost-effective than alternatives like aluminum oxide or glass bead. Corn cob grit and crushed walnut shells are also popular.
Find a well-ventilated area for your projects, such as a garage or workshop. Cover exposed surfaces with a tarp.
Keep safety in mind, and wear goggles and rubber gloves. It’s also wise to invest in a painter’s suit with a hood. Sand ricochets, and if you don’t cover your body, you’ll end up with sand in places you don’t want sand.
Here’s the process:
- Fill the barrel or hopper with your media of choice
- Start the compressor, open the airline, and let the tank pressurize to 40-100 PSI
- Use short bursts and a low PSI setting
- Increase pressure gradually until you’re satisfied with the way the wood looks
A little practice and you’ll soon have a few show-worthy pieces!
Ready for Your Next Project?
Whether you restore it to the original beauty or distress a newer piece, there’s nothing like the beauty of natural wood. Now that you’ve read a few things about sandblasting wood, you’re ready to either DIY or hire a professional.
If you’re looking for more project ideas, hang out a while longer on the blog. You’ll find plenty of reading material!
Information contained on this page is provided by an independent third-party content provider. Frankly and this Site make no warranties or representations in connection therewith. If you are affiliated with this page and would like it removed please contact pressreleases@franklymedia.com
More Like This
February 26th, 2020
December 21st, 2024
December 21st, 2024
Top Headlines
December 21st, 2024
December 21st, 2024
December 21st, 2024


